PLUM PRESERVES FREEZER JELLY
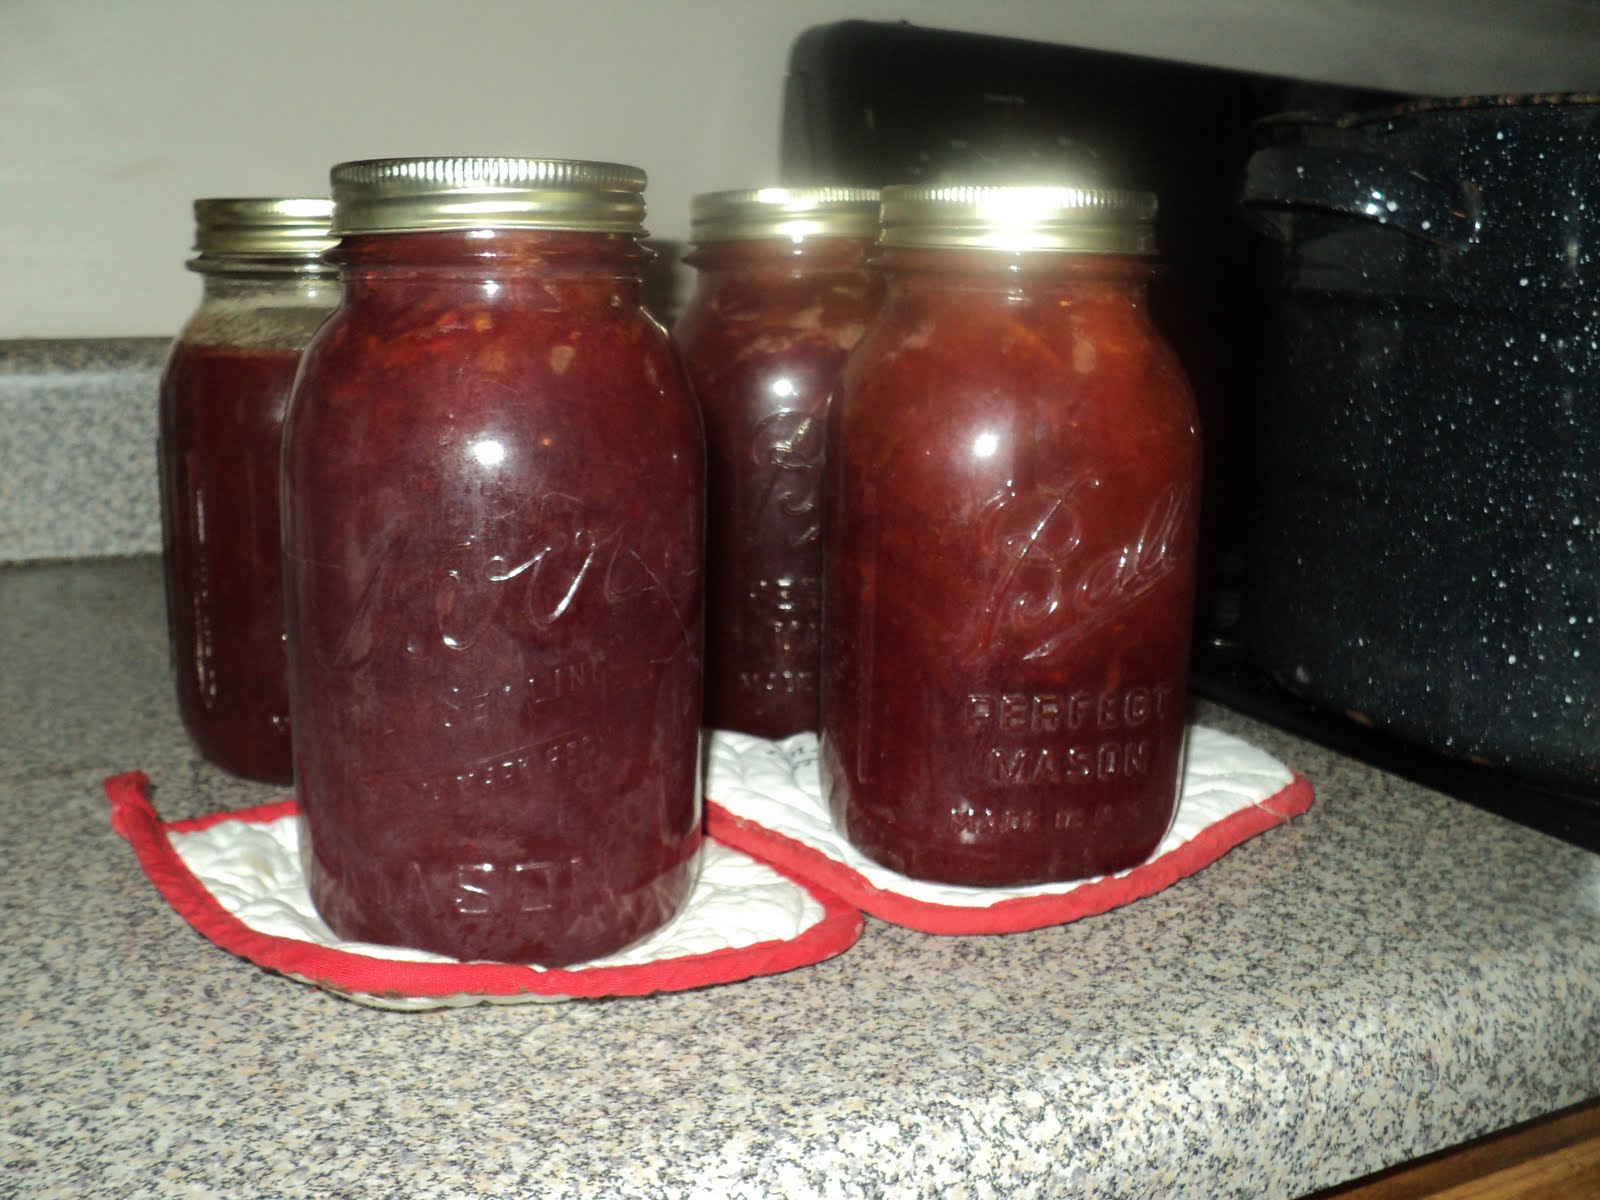
I got this recipe from the Ball Blue Book Guide to Home Canning, Freezing, & Dehydration. Chesney's babysitter has a plum tree. She told us we could have as many as we wanted because they "just run over them with the lawn mower". The recipe is for regular preserves, but it didn't set so I tried putting a jar in the freezer and it made great freezer jelly! I also froze some whole plums to use later in smoothies; they can be frozen whole, with the pit still in.
Combine 5 cups pitted tart plums (about 2 1/2 pounds), 4 cups sugar, and 1 cup water. Bring slowly to a boil, stirring until sugar dissolves. Cook rapidly almost to gelling point, about 15 minutes. As mixture thickens, stir frequently to prevent sticking. Remove from heat. Skim foam if necessary. Ladle hot preserves into hot jars, leaving 1/4 inch headspace. Adjust two-piece caps. Process 15 minutes in a boiling-water canner. Yield: about 5 half-pints.
RABBIT POT PIE

No one else in the family is keen on left-overs, so I have to find ways to disguise them as new foods. This pot pie used leftover rabbit we had from the crockpot earlier in the week and was a HUGE hit. I adapted the recipes from chicken pot pie recipes on AllRecipes.com, changing them to fit our likes/dislikes and the ingredients we had available.
Crust: Mix 2 cups whole wheat all-purpose flour, 1 teaspoon salt, 1 stick butter, and 1/3 cup spreadable butter (we ran out of stick butter) with a pastry blender (or use a fork, I don't personally own a pastry blender) until butter is in pea-size pieces. Add 6 tablespoons cold water and stir until dough forms a ball. Divide the ball in half. Lightly flour a flat surface and a rolling pin. Roll out one half of the dough to fit a standard pie pan. Place in the pan, make holes in the bottom with a fork, and bake 5 minutes. Meanwhile, roll out the second half of the dough then set aside.
Filling: Mix approximately 2 1/2 cups shredded rabbit, 10 sliced baby carrots, 1 cup frozen peas, and 1 cup frozen corn in a saucepan. Just cover with water and boil 15 minutes. Drain and set aside. In a sauce pan (or I used a large frying pan), make a roux with 1/3 cup butter and 1/3 cup whole grain all-purpose flour. Add 1/2 teaspoon salt, 1/4 teaspoon pepper, 1/2 teaspoon garlic salt, 1 3/4 cups water, and 2/3 cup milk. Simmer until thick. Pour rabbit/vegetable mixture into bottom pie crust. Pour thickened sauce over the rabbit/vegetable mixture. Top with second half of rolled pie crust, making sure to seal edges. Poke several slits into the top. Cook approximately 30 minutes. Allow to cool slightly before eating.
CHICKEN AND NOODLES

This is another recipe using leftovers, this time from the white meat leftover from our first taste of free-range chicken. It was also adapted from recipes on AllRecipes.com.
Boil chicken bones in 48oz water to create a chicken broth. (I boiled them while I prepared the noodles, so I wasn't timing the boiling.) Make noodles by mixing 1 egg for every 1/2 cup flour (we had two friends over, so I used 3 1/2 cups flour and 7 eggs,) 1/2 teaspoon salt, and enough water to make the mixture moist (I used approximately 6 tablespoons for 3 1/2 cups). Lightly flour a flat surface and a rolling pin and roll out the dough till about 1/2 inch thick. Cut into noodles using a floured butter knife. Add approximately 2 cups shredded chicken and salt and pepper to taste to the boiling water. Add the noodles one at a time (so they do not stick together) and cook 30 minutes. Can be eaten alone or on top of mashed potatoes.
JOWL AND SPLIT PEAS

None of us had ever eaten pork jowl before, but we were delighted by how good it was with split peas.
Boil 1 pound split peas, 1 pound chopped pork jowl, 7 cups water, and salt, pepper, and garlic salt to taste for 45-60 minutes, until peas are softened (or "mushy" as I call it). If you have extra liquid towards the end of cooking, remove it and reserve for an additional recipe. We like split peas with corn bread or corn muffins (which I currently just make from a box).
SPLIT PEA LIQUID RESERVE SOUP

Fill a bowl slightly over halfway with liquid reserved from Jowl and Split Peas. Add 3 sliced baby carrots and a handful of frozen corn. Microwave till completely warmed through.
JOWL, SPINACH, AND GOAT CHEESE OMELET

I made this as a late lunch one day, around 2pm. I do not drink a lot of coffee, but the strong tastes all blending together in this omelet had me craving a good dark French Roast so I made a cup...and it was wonderful. Who needs sleep?
Fry 2 slices pork jowl in a medium-sized frying pan, leaving the melted fat in the pan after frying. Cut jowl into small pieces and set aside. Wilt a handful of fresh spinach in the jowl fat; remove and set aside. Slightly beat 3 eggs and a splash of milk. Cook in a frying pan. When eggs are firm, put cut jowl, wilted spinach, and a handful of goat cheese on one side of the egg, flip the other side on top of fillings to create the omelet. Allow to cook a few minutes longer to heat through.


