Friday, August 5, 2011

Black and White Brethren

When one thinks of four-legged, black and white, bamboo eating animals, one would most often think of the panda bear.  After today, however, I will think a little closer to home.  (And you may, too!)  Why?  Well, we happen to have a small bamboo forest by our pond.  We call it a forest, it's more like a patch.  I happened to glance out there today and saw cows in our bamboo forest, munching away on what leaves they could reach.  I tried to get a picture, but the guilty little things came out before I could snap one off, choosing instead to pose in front of the bamboo.


I attempted to get them back into the pasture, but they just kept running from me, either around the pond at top speed or into the water.  As angry at them as I was, they were beautiful standing by the pond.


Free cows ended up being a battle all day.  They tore down quite a bit of bamboo and ate almost everything in our vegetable garden, including my rare heirloom Festivity corn (corn that looks like indian corn but is really sweet corn) that I was really excited about.  Luckily I have a handful of seeds that didn't fit in the garden I can try planting next year.  They chose to stay out of the garden full of blue Hopi corn, winter squash, and pole beans we planted for the livestock.  They came back into the pasture, by jumping the fence, during evening chores.  Guess they wanted to see if what I was serving for supper was any better than what they could find on their own.  I went ahead and put them into an extra stall in the barn.  We can't have them keep escaping, and it will cost a fortune to provide all their feed without pasture, so it looks like they may be getting butchered sooner rather than later.

Thursday, August 4, 2011

Monsanto Field Day

Today I got to accompany my husband to Monsanto's field day in Union City, TN.  I thought this was my first field day, but looking back I did go to one in high school for roughly 30 minutes in one of my ag classes.  This one was much more memorable.  (I hope!)

We started the day at a 1-hour presentation about cotton, at which I more than quadrupled my cotton knowledge.  I learned all about white flowers and early vs late producing plants and cotton bolls and perfect weather conditions for each stage of cotton and how to tell how close a plant is to harvest by either counting bolls or cutting open a boll.  I also learned about defoliant (which I had heard of only once before) and chopping a field (which I still don't really know why or when).  I also learned that they use A LOT of chemicals on cotton: one or two chemical applications to kill weeds before planting, more chemicals at planting, more one or two weeks (or both) after planting, more as needed for weed and pest control, then one or two passes with a defoliant.  (Just listening to all these chemical applications made me want to run out and buy all new t-shirts...organic only!)   The great thing was, I thought of all kinds of questions, such as "is there a defoliant that is approved for organic cotton?" and "how does a cotton plant not look like a cotton plant" (which he had mentioned about one of the experimental varieties).  Unfortunately, everyone else in attendance was a real farmer with real farm questions (especially about pig-weed, which seems to be a big problem right now with the cotton), so I was left only wishing I had a guide to explain terms to me and to answer my more general questions.

Next we visited a presentation about weeds.  The plan seemed to be to talk about all weeds and Round-Up Ready products, but the farmers wanted to concentrate on pig-weed.  I did finally get to see this Pigweed (Amaranthus palmeri...a pigweed that is resistant to the protein glyphosate used in Round-Up Ready products).  I also learned about a pesticide that kills caterpillars from the inside out (which made me glad we don't use chemicals on our farm).

We finished out the day by checking out the corn varieties.  Nothing too exciting there: we are from Illinois, after all.  Overall, it was a very interesting, educational day.  And I don't mean to put down Monsanto at all and am sorry if that is how this blog has come across.  They do what they do well, it is just not necessarily the way I would choose to do things on our farm.

By the way, I Googled organic cotton when we got home.  According to HAE Now's article "Why Choose Organic", no defoliant is approved for use on organic cotton.

Wednesday, August 3, 2011

Got Milk?

A couple of weeks ago our Apline doe's udder started looking bigger on one side.  I didn't think much of it: we got her at an auction and don't know exactly how old she is, so maybe she was just growing.  Then today her udder was MUCH bigger on the one side, like full of milk bigger.


I cornered her, pulled on the teat, and MILK CAME OUT!!!  I got her up on the stand and milked both teats, getting almost as much out of her as we do each of the other goats.  I ran in and told Matt, dreams of a super-breed of goat floating around in my head, a breed perfect for hobby farmers who wanted the milk but not necessarily a billy or kid goats. 

Once I had come back to reality, I Googled the phenomenon and found out it is actually rather common.  They are known as precocious does.  There are all kinds of opinions on what to do with these does.  Some people milk them because it helps the goat to avoid mastitis and gives them a bit more milk.  Goats who are milked as precocious does can give as much as a half gallon per day if stimulated (about as much as our current two goats give together).  Others do not touch the doe and allow it to dry up, waiting for milk until after the doe has kids.  I read on one Homesteading Today post that someone had experimented with her precocious does, finding hers do best if she milks them up until bred then drying off...also finding those gave more milk after kidding than precocious does she did not milk at all.  One thing everyone agreed on was becoming precocious is a sign of a great milker: it looks like we can expect to get over a gallon per day after she does kid.  (Yeah!!!!!)

We discussed it and decided to milk her until she is bred.  We even discussed trying not to breed her since we are only interested in the milk and would be happy with a half gallon per day, but I couldn't find if there would be any negative consequences to that option.  For now, we will just enjoy this little suprise!

Sunday, July 24, 2011

The Doctor is In

Yesterday morning I went out to find a new litter of Large Blacks IN THE BARN.  We give them an entire pasture and the sow chooses the barn!  I will give her that it stays pretty cool in the barn, but I maybe would have chose somewhere besides right next to the gate.  (We now have to walk around and go through the pasture to the back of the barn.)  But the litter and the sow's choices are not really why I am writing.  No, I am writing because I noticed a gash above the right leg of one of the piglets.  Upon closer inspection, it was not simply a gash, but an actual hole...through which the piglet's guts could actually be seen with space between the skin and insides.  (The picture does not do the hole justice, it still looks like a surface wound more than a hole.)


Since the wound was an actual hole, we knew it should be stitched so it would heal, but we didn't have a curved needle and Matt didn't want to use a straight needle.  We cleaned the area with a iodine/water solution (we read a saline solution could also be used, but we had iodine) then rinsed it with distilled water.  We patted it dry and used duct tape as make-shift butterfly bandages.


Well, the duct tape kept coming off due to the drainage, so we brainstormed and Matt came up with the perfect solution: super glue.  We super glued the wound mostly shut (we dotted the area with glue so there was still some space for drainage).  We then covered the area with gauze and wrapped it with self adhesive medical tape.


We decided to keep the piglet inside in order to reduce the amount of dirt, etc the wound is exposed to.  However, we then needed to decide how to feed it.  We first tried goat milk in a bottle, but the pig was more interested in trying to suck on my fingers than the bottle.  We then tried a syringe and got some goat milk down, but the piglet wasn't very happy with that option.  We finally decided the sow is right down in the barn, and the piglet was very interested in eating, so we would just take it down to the barn to eat 3-4 times per day.  Both the sow and the piglet seem to be doing well with this choice.


The hole doesn't seem to be slowing the piglet down any.  It is one of the most active piglets while in the barn, has a hearty appetite, and is smart (when the sow flipped to the other side it was the first one to walk around and keep eating).  If we can keep infection out, prognosis is good.  Although I probably shouldn't say that, because mentioning it is just asking for trouble to come our way!

Saturday, July 16, 2011

Murphy's Law Hits The Farm

Goodness...has it really been almost a month since I wrote last?!?!  Well, it sure doesn't feel like it!  Time has been flying.  The garden has, slowly but surely, been growing.  Animals have been reproducing.  And we have been on yet another trip to Illinois...when Murphy's Law decided to show us just how important a positive attitude is.

The trip to Illinois was wonderful.  We stopped at two wineries this trip, Bella Terra Winery and Windy Hill Vineyard & Winery, both located in Creal Springs, Illinois and only about a mile apart.  What Matt and I decided this trip is we are not necessarily fans of good wine, but of good tasting wine.  Let me explain.  We visited Bella Terra Winery first, where we received the best service we have ever received while wine tasting.  He explained all the different grapes while serving us, gave us more free samples than allowed (each person is allowed 5 but we tried just about every wine they make trying to find one to bring a special twinkle to our eyes), he gave our son a bag of Cracker Jacks and our daughter some Goldfish.  It was really an amazing experience.  However, the authentically Italian wines were just not our thing.  They tasted very high class and were obviously high quality, but we found ourselves without at least one that jumped out at us as amazing.  We decided to purchase Bacca Rosato, a Sweet Red Wine.  We then made our way to Windy Hill Vineyard & Winery, which we weren't expecting but saw a sign for at the turn for the first vineyard.  We were a bit worried when we pulled up, it looked like a shed with an old pick-up outside.  Matt asked if we should go in and I said we were already there, we might as well.  The inside greatly suprised us, it was completely different than the outside, maybe even more nicely decorated than the first winery.  This winery had a lot of grape and berry hybrid wines, which to a real connoisseur is a no-no, but is just fine for us.  We found ourselves in the usual predicament of which two to limit ourselves to.  We finally chose a STRONG-tasting (it contains black cherry and black currents) Chambourcin and their award-winning Catawba.  The whole experience reminded me of the line in Hal Ketchum's song Mama Knows the Highway "...little places always share the Grandy's sign..." since we only found this winery because of the interstate sign for the other.  Like I said, we can appreciate good quality wine, but that doesn't mean we don't like good tasting wine better.

Grapes at Bella Terra Winery
Little did we know while we were tasting wine and visiting friends and family in Illinois, Murphy's Law had already set in back home.  Actually, we should have known something was up because the air conditioning broke on the way home, on the first day to hit over 100, and we were all miserable most of the 8 hour ride back to Tennessee.  Then we arrived home to find the GFI outlet breaker had popped out during a power outage during our absence and we lost ALL the meat and bread in our chest freezer.  One of our goats also got sick while we were gone and several chicks and rabbit kits died in the heat wave.  If we had been home we would have turned fans on, but our farmhand just didn't know. 

Life goes on and things are looking up again: the freezer is cleaned out and full of two freshly butchered hogs (which...luckily...were not ready before we left) and the goat is doing much better after a shot of antibiotic and some extra grain.  All's well that ends well.

Tuesday, June 21, 2011

Family-Friendly Farm Recipes II

We have tried several new recipes over the past couple of weeks and I thought I would share some the the best.  As I have said in the past, this is just how I prepared the dishes and this should not be looked at as die-hard "recipes" but merely guides to follow loosely with what you have on hand.

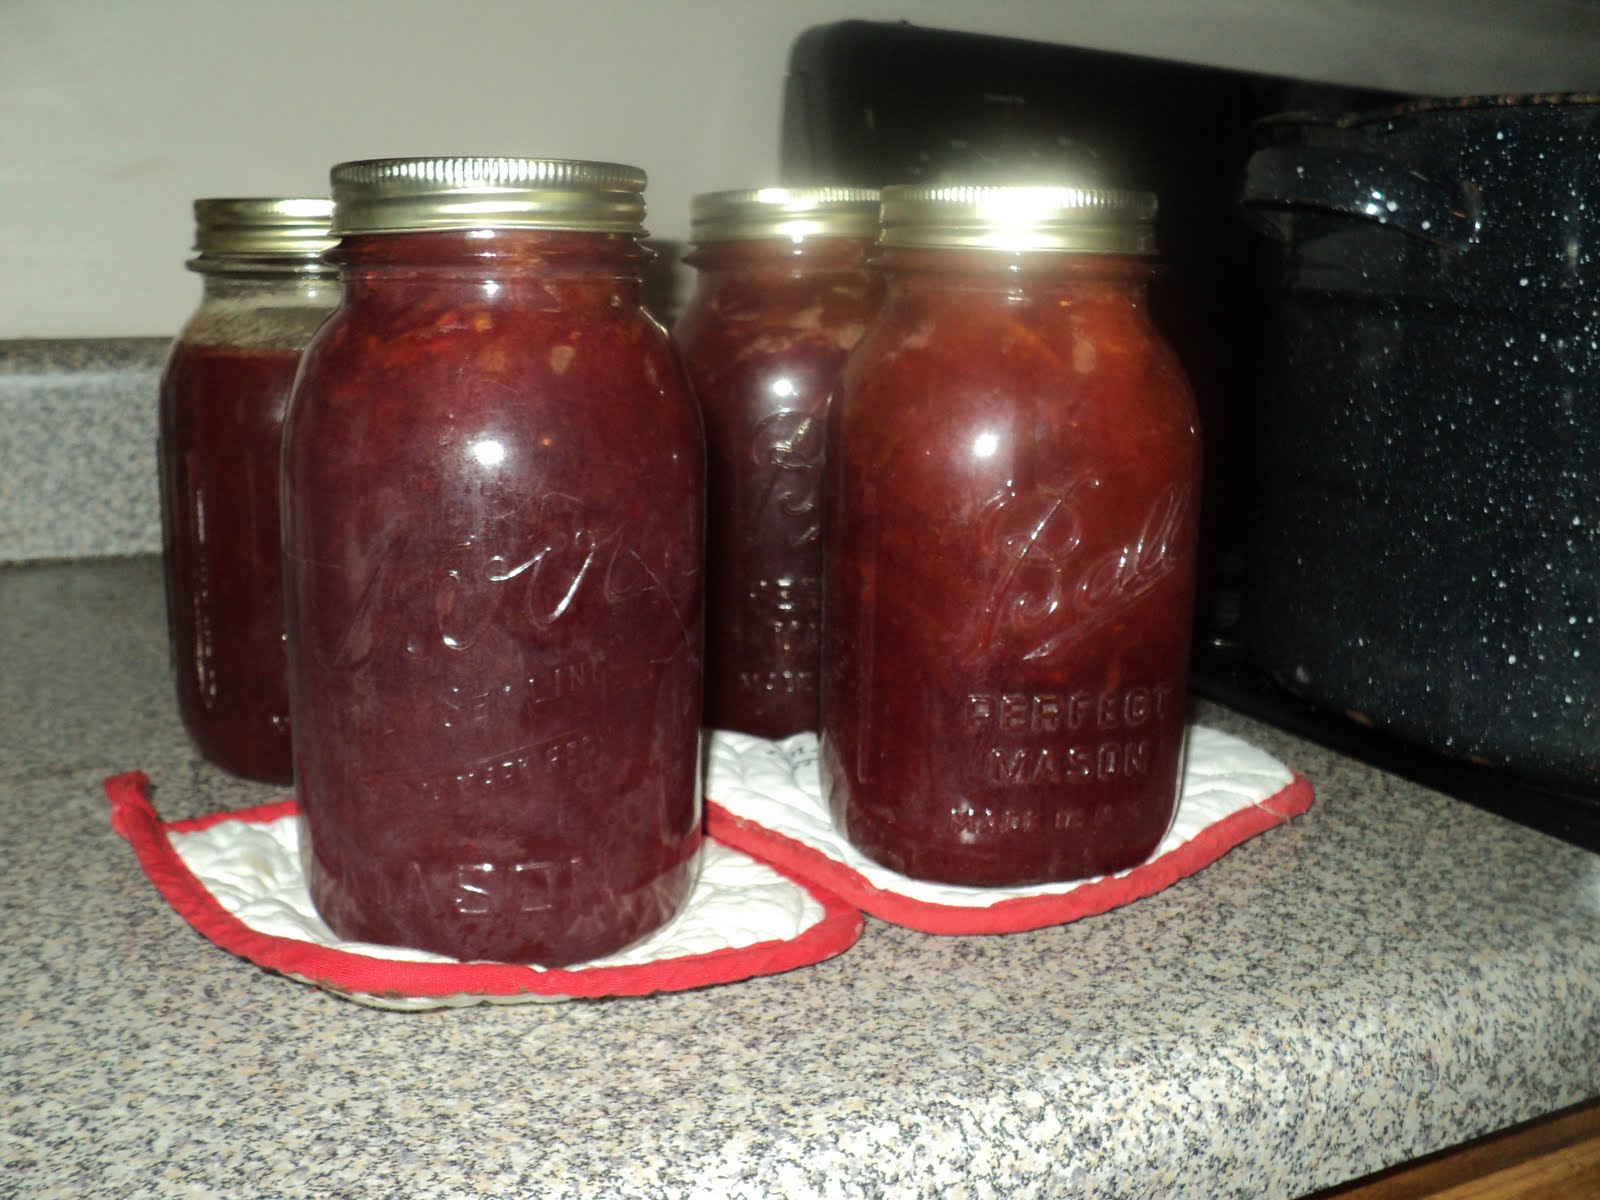
PLUM PRESERVES FREEZER JELLY
I got this recipe from the Ball Blue Book Guide to Home Canning, Freezing, & Dehydration.  Chesney's babysitter has a plum tree.  She told us we could have as many as we wanted because they "just run over them with the lawn mower".  The recipe is for regular preserves, but it didn't set so I tried putting a jar in the freezer and it made great freezer jelly!  I also froze some whole plums to use later in smoothies; they can be frozen whole, with the pit still in.
Combine 5 cups pitted tart plums (about 2 1/2 pounds), 4 cups sugar, and 1 cup water.  Bring slowly to a boil, stirring until sugar dissolves.  Cook rapidly almost to gelling point, about 15 minutes.  As mixture thickens, stir frequently to prevent sticking.  Remove from heat.  Skim foam if necessary.  Ladle hot preserves into hot jars, leaving 1/4 inch headspace.  Adjust two-piece caps.  Process 15 minutes in a boiling-water canner.  Yield: about 5 half-pints.


RABBIT POT PIE
No one else in the family is keen on left-overs, so I have to find ways to disguise them as new foods.  This pot pie used leftover rabbit we had from the crockpot earlier in the week and was a HUGE hit.  I adapted the recipes from chicken pot pie recipes on AllRecipes.com, changing them to fit our likes/dislikes and the ingredients we had available.
Crust:  Mix 2 cups whole wheat all-purpose flour, 1 teaspoon salt, 1 stick butter, and 1/3 cup spreadable butter (we ran out of stick butter) with a pastry blender (or use a fork, I don't personally own a pastry blender) until butter is in pea-size pieces.  Add 6 tablespoons cold water and stir until dough forms a ball.  Divide the ball in half.  Lightly flour a flat surface and a rolling pin.  Roll out one half of the dough to fit a standard pie pan.  Place in the pan, make holes in the bottom with a fork, and bake 5 minutes.  Meanwhile, roll out the second half of the dough then set aside.
Filling: Mix approximately 2 1/2 cups shredded rabbit, 10 sliced baby carrots, 1 cup frozen peas, and 1 cup frozen corn in a saucepan.  Just cover with water and boil 15 minutes.  Drain and set aside.  In a sauce pan (or I used a large frying pan), make a roux with 1/3 cup butter and 1/3 cup whole grain all-purpose flour.  Add 1/2 teaspoon salt, 1/4 teaspoon pepper, 1/2 teaspoon garlic salt, 1 3/4 cups water, and 2/3 cup milk.  Simmer until thick.  Pour rabbit/vegetable mixture into bottom pie crust.  Pour thickened sauce over the rabbit/vegetable mixture.  Top with second half of rolled pie crust, making sure to seal edges.  Poke several slits into the top.  Cook approximately 30 minutes.  Allow to cool slightly before eating.


CHICKEN AND NOODLES
This is another recipe using leftovers, this time from the white meat leftover from our first taste of free-range chicken.  It was also adapted from recipes on AllRecipes.com. 
Boil chicken bones in 48oz water to create a chicken broth.  (I boiled them while I prepared the noodles, so I wasn't timing the boiling.)  Make noodles by mixing 1 egg for every 1/2 cup flour (we had two friends over, so I used 3 1/2 cups flour and 7 eggs,) 1/2 teaspoon salt, and enough water to make the mixture moist (I used approximately 6 tablespoons for 3 1/2 cups).  Lightly flour a flat surface and a rolling pin and roll out the dough till about 1/2 inch thick.  Cut into noodles using a floured butter knife.  Add approximately 2 cups shredded chicken and salt and pepper to taste to the boiling water.  Add the noodles one at a time (so they do not stick together) and cook 30 minutes.  Can be eaten alone or on top of mashed potatoes.


JOWL AND SPLIT PEAS
None of us had ever eaten pork jowl before, but we were delighted by how good it was with split peas.
Boil 1 pound split peas, 1 pound chopped pork jowl, 7 cups water, and salt, pepper, and garlic salt to taste for 45-60 minutes, until peas are softened (or "mushy" as I call it).  If you have extra liquid towards the end of cooking, remove it and reserve for an additional recipe.  We like split peas with corn bread or corn muffins (which I currently just make from a box).  

  
SPLIT PEA LIQUID RESERVE SOUP
I made this for lunch one day a couple of days after the split pea soup.  It was perfect for a quick meal for one, just add your favorite vegetables.  With a little more time, it would be good made on the stove with potato as one of the ingredients.
Fill a bowl slightly over halfway with liquid reserved from Jowl and Split Peas.  Add 3 sliced baby carrots and a handful of frozen corn.  Microwave till completely warmed through.


JOWL, SPINACH, AND GOAT CHEESE OMELET
I made this as a late lunch one day, around 2pm.  I do not drink a lot of coffee, but the strong tastes all blending together in this omelet had me craving a good dark French Roast so I made a cup...and it was wonderful.  Who needs sleep?
Fry 2 slices pork jowl in a medium-sized frying pan, leaving the melted fat in the pan after frying.  Cut jowl into small pieces and set aside.  Wilt a handful of fresh spinach in the jowl fat; remove and set aside.  Slightly beat 3 eggs and a splash of milk.  Cook in a frying pan.  When eggs are firm, put cut jowl, wilted spinach, and a handful of goat cheese on one side of the egg, flip the other side on top of fillings to create the omelet.  Allow to cook a few minutes longer to heat through.     

Monday, June 13, 2011

Butchering Day: A Step-by-Step First Experience

We butchered our first six chickens (and 12 more rabbits) Saturday.  We had been putting off butchering the chickens till we had a plucker, but we got tired of buying meat (and we finally have a freezer) so Matt rigged up a hand-held plucker and we were in business.  First, Isaac and I rounded up the roosters about to meat (make that, meet) their fate.


Meanwhile, Matt got his butchering gear together.


We started with the chickens.  First, Matt cut their heads off.  I wanted to see one run around with it's head cut off.  My grandma used to tell me they had a chicken run off into the bushes and get lost when she was a kid but I have also read "running around like a chicken with it's head cut off" is a myth and they don't really do it.  I wanted to find out for sure.  Maybe next time.  They did flap their wings a lot and twitch for a few minutes after being decapitated.  Matt tied rope shackles that he had made to their feet and hung them in a tree to bleed out.


While we were waiting, we started pulling feathers from their legs, just to see how hard they were to get out.  We were quite surprised by the Lavendar Orpingtons, they pulled out super-easy!  Like, um, pulling velcro apart.  (It really was that easy.)  The Non-Industrial Red roosters' feathers were a bit harder, but still not has hard as we'd expected.  (My only feather-plucking experience to date was with ducks...which was next to impossible.  Note: skin ducks!!!  You'll thank me later.)  It was a little weird to be pulling feathers off a still warm chicken I had just seen alive a few minutes before...I don't know that's something you get used to right away.  (Nor the smell.  There was a horrible, lingering smell of something.  Probably death.  Two days...and a lot of cleaning...later the smell is still slightly detectable in the butchering area.)


Once the chickens were well-bled and we had the feathers off the legs (and most of the chicken except the wings for the Orpingtons), we took them inside to scald them.  We completely dipped them 10 times (I don't know why, but I tried different numbers of dips and 10 seemed to be magical) in water right around 150 degrees.  


Then we took the chickens outside and pulled the rest of the feathers off.  Actually, on the first one we tried Matt's hand-held plucker, but I found it just as fast and easy to hand-pull.  (If we'd known plucking were that easy we'd have started butchering months ago!)  Soon we had a product that looked more like the chicken I know and love.


We let the chickens soak in ice water for about 30 minutes, then we bagged them in freezer bags, wrote the contents and date, and stuck them in the new-to-us freezer.  The 12 rabbits were next.  (Sorry, but I can only write so much in one blog entry...details on rabbit butchering to come in the future.)  Even though it was enough meat to last 3-4 weeks, it barely made a dent in the chest freezer.


***And here's the rest of the story.  We ate our first homegrown, free-range chicken tonight.  I cooked the dark meat in butter and Lowry's (our go-to recipe for all meats).  The white meat I just put in a baking dish; no one in our family likes white meat, but I figured I would use it for spaghetti or chicken salad or some other leftover type of dish.  Well, let me just forewarn: free-range dark meat is DARK.  And a bit leather-ly.  (Ok, so we had to cut it with steak knives and Matt likened it to shoe leather.)  The meat in the picture is really that color, it is not because of the lighting.


Matt tried the white meat to see if it was any better.  The white meat was tender and juicy and tasted like a cross between store-purchased white and dark meats.  Lesson learned?  (1) Butcher chickens younger (these were just under a year old) (2) Don't bother with a chicken plucker and (3) White meat in a free range chicken is delicious!